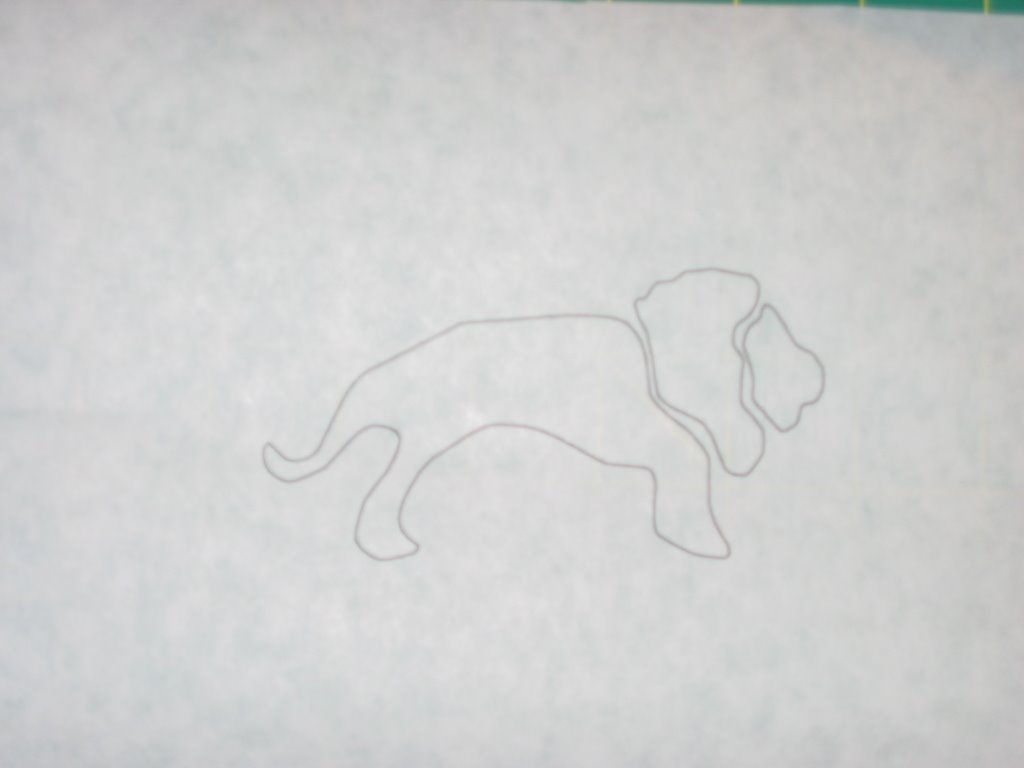
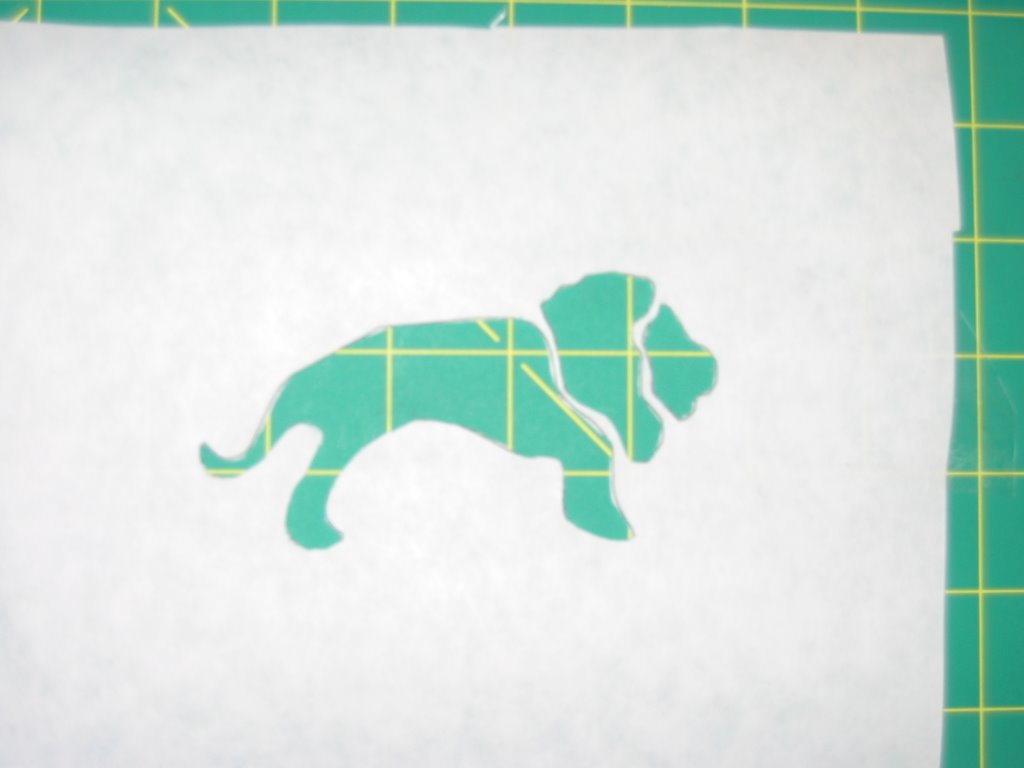
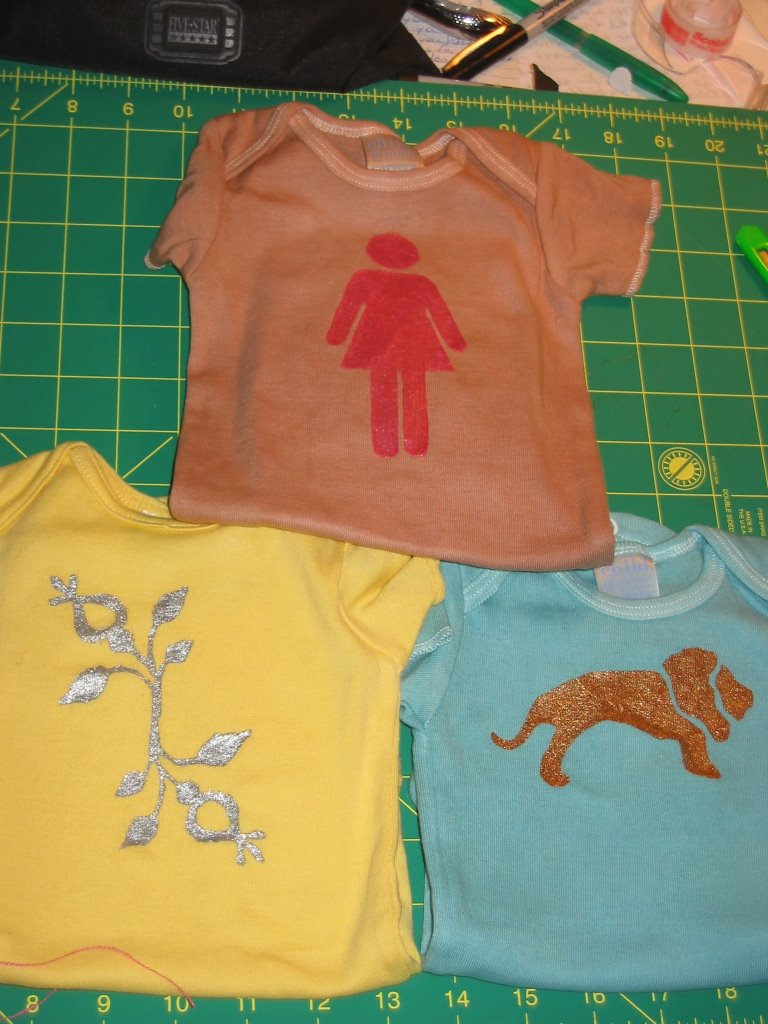
This is Recycling at it's best!! i love taking something that is cool but not really practical and making it into something great like a BAG! um, cause i loooove bags.
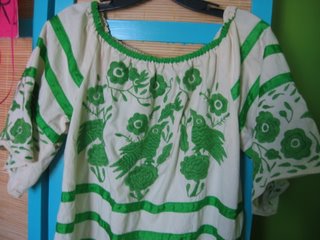
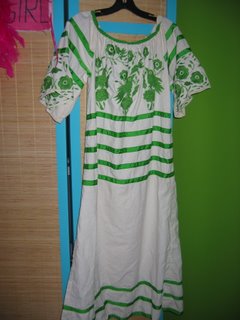
So Brian and i were over at our Friend Donnie and Jen's house and they were showing us their great attic. Where Donnie keeps a costume collection. It was soo cool. I loved it. Jen said they have people come over for Halloween to use it. So it does come in handy from time to time! :) She pulls out this great green dress! She said that Donnie got it for her. It's huge tho, and she wasn't really sure when she would wear it but still a special dress and it was something she held on to cause she liked the embrodery. I got so excited and said, "wow that would make a great bag!"
Then Donnie reminds me that her birthday is coming up in July.. So she just gave it to me with that in mind.. i wonder if she really thought i would do it, or if she expected, we'd be 80 b4 she'd see her Mexico dress in form of a bag.. i mean at the rate i get things done! and she knows this. But i even surprised my self and got it done for her birthday! I'm so excited for her to see it! i don't really know if she will be into the style of the bag.. but maybe she'll just wear it for a while to humor me or cause it is special. I want her to know how much she means to me and I'm so thrilled to do this for her. She has done so much for me! I love making bags and other things for the people i love! Love you Jen! Happy Birthday!
Here's the before and after pics
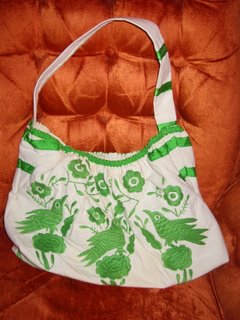
some cool inside pockets i made with the sleeves

So Brian and i were over at our Friend Donnie and Jen's house and they were showing us their great attic. Where Donnie keeps a costume collection. It was soo cool. I loved it. Jen said they have people come over for Halloween to use it. So it does come in handy from time to time! :) She pulls out this great green dress! She said that Donnie got it for her. It's huge tho, and she wasn't really sure when she would wear it but still a special dress and it was something she held on to cause she liked the embrodery. I got so excited and said, "wow that would make a great bag!"
Then Donnie reminds me that her birthday is coming up in July.. So she just gave it to me with that in mind.. i wonder if she really thought i would do it, or if she expected, we'd be 80 b4 she'd see her Mexico dress in form of a bag.. i mean at the rate i get things done! and she knows this. But i even surprised my self and got it done for her birthday! I'm so excited for her to see it! i don't really know if she will be into the style of the bag.. but maybe she'll just wear it for a while to humor me or cause it is special. I want her to know how much she means to me and I'm so thrilled to do this for her. She has done so much for me! I love making bags and other things for the people i love! Love you Jen! Happy Birthday!
Here's the before and after pics


some cool inside pockets i made with the sleeves

posted by Joy Morykon @ 6:59 AM
3 comments
![]()